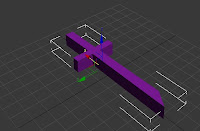
 Using the pen tool in either 3D Max or Illustrator, we were able to learn how to turn a 2D image into a 3D one. First we tried dawing within 3DMax before going to the modifer list and selected the Extrude feature to make it 3D, similar to how I did the text for my supermarket last week. The first object was a sword.
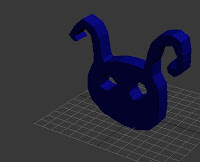
The second drawing was using Illustrator before importing the image and Extruded the image to make it 3D before resizing it. This time, I drew a cartoonish head from a game.
Lathing
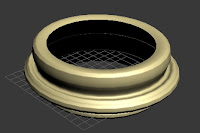
After that, we were told how to lathe an 2D image. Whether the user draws in 3DMax or Illustrator, the person will have to draw half the image. Me, at the time, didn't understand the concept fully and thought that I should try and create a ghost. After drawing your half a image, you rearrange the pivot poin to the egde of the image, where the lines end, and then apply the lathe feature, giving you a fully 3D image. While doing this, I watched as my ghost turned into a spinning top before turning into a hand bracelet. Earning a good half an hour of confusion and a sudden thought at the end thinking that this feature will be usful when making side items such as cups. This thing is madness I tell you!!
Loft
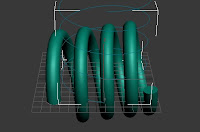 Next, we drew a spring like line, using the Helix tool and made sure that both of the radius were the same. Then, we drew a small circle and selected the circle (shape) to Loft in the Compound Objects. From there, you would link, 'select path' and then select the Helix line made, thus creating a 3D spring. From there, you can mess around with it and change the size of it, changing its shape.
Boolean and Pro-boolean
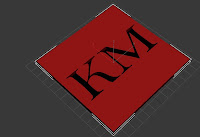 Now we are told to make letters imprinted in a box using either Boolean or Pro-boolean. From making some 3D letters from before and placing them within the box so that they were inside the box but was still popping out of the box, I went to compound objects where Boolean was. I tried using Boolean first but after following the tutorial, all I managed to do was change the colour of the box while the font disappeared or the bow just disappeared all together. But after using the Pro-boolean, I managed to get the letters to imprint into the box.
Array
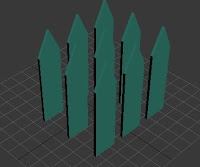 I quickly drew an fence and changed it to 3D before bringing up the array settings within the tools to make three by three worth of fences. This technique will be useful when cloning certain items, though I would just copy and paste the item from hand, unless I want to keep things in line.


